
Lecture Capture using Panopto
This page will help you learn how to use Panopto on the classroom podium computer at UW Bothell.
Step #1 – Login onto the podium Computer
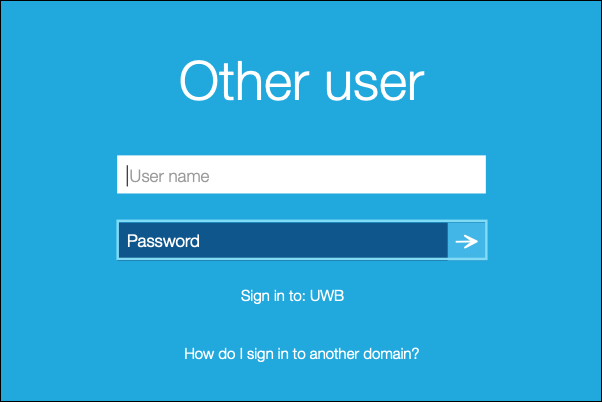
You can sign in to a podium computer either with your NetID or with the public podium credentials (the username and password for these credentials are posted on each podium).
To use your NetID, enter it as YourNetID@netid and your UW account password. Your NetID is the first part of your UW email address.
Step #2 – Open web browser
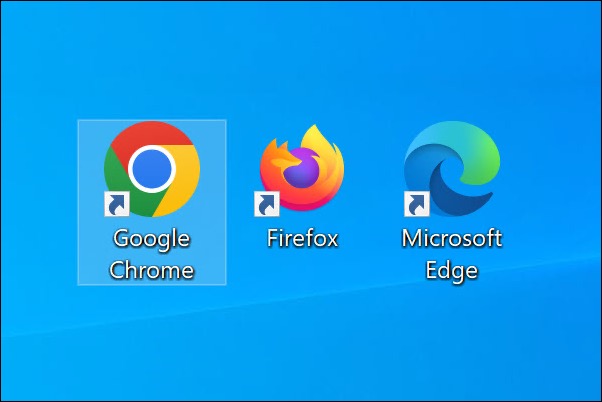
Open your preferred web browser (Google Chrome, Firefox, or Edge)
Step #3 – Open your Canvas course

Open your preferred web browser (Google Chrome, Firefox, or Edge)

Select the Login button on the Canvas page.
Sign in with your UW NetID and Password.
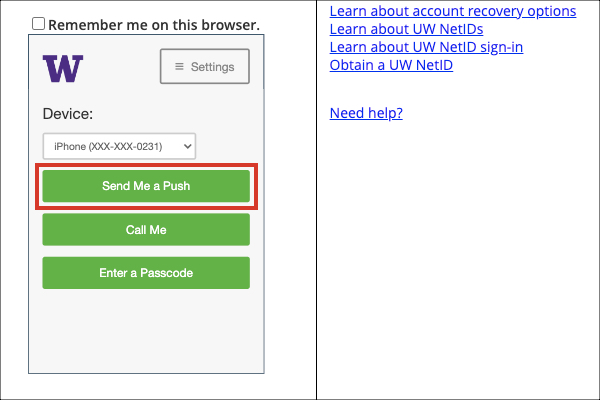
Verify Your Canvas Login using the DUO two-factor authentication. Remember to use the option Send Me a Push to receive notifications to your mobile device.
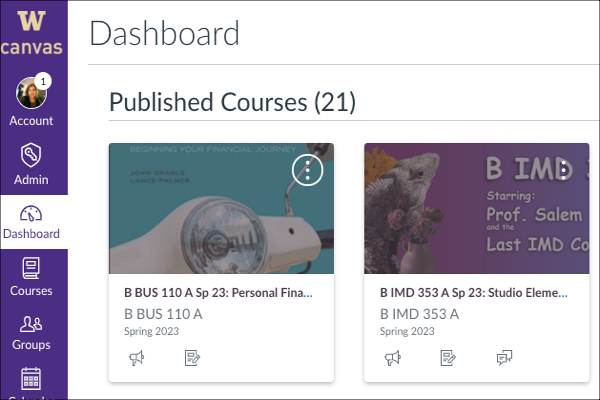
Select the Canvas course where you would like the Panopto videos to be saved.
Step #4 – Open Panopto
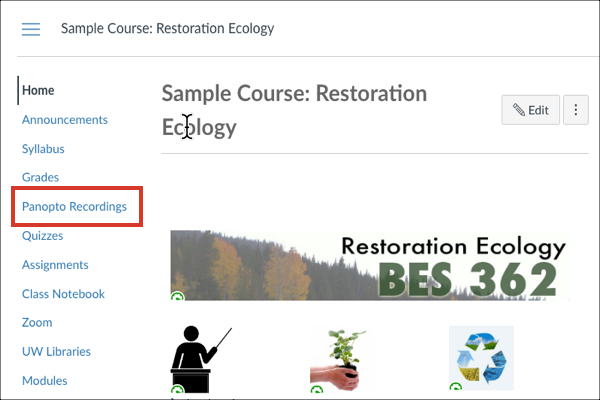
Choose Panopto Recordings from the course menu. This action will open your Canvas course Panopto page.
If the link is not visible, you can enable it from the course Settings > Navigation tab.
Step #5 – Create a new Panopto recording
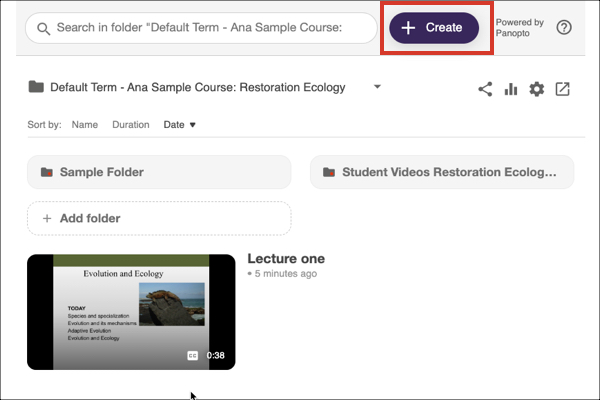
Select the Create button within the Panopto interface.
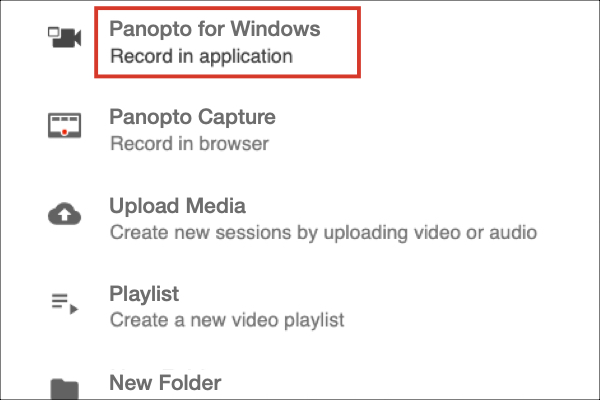
Choose Panopto for Windows from the drop-down menu.
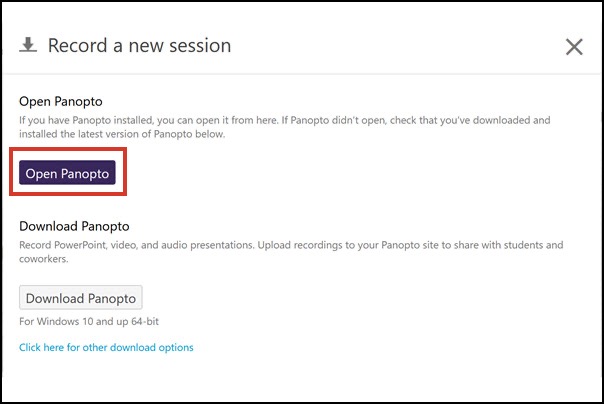
On the Record a new session window, choose the Open Panopto button.
Step #6 – Select the Panopto application
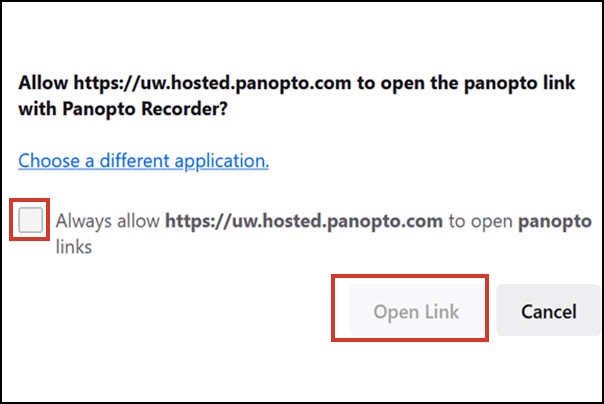
Check the box, “Always use this application to open Panopto links” and select Open Link.
Step #7 – Panopto recording interface
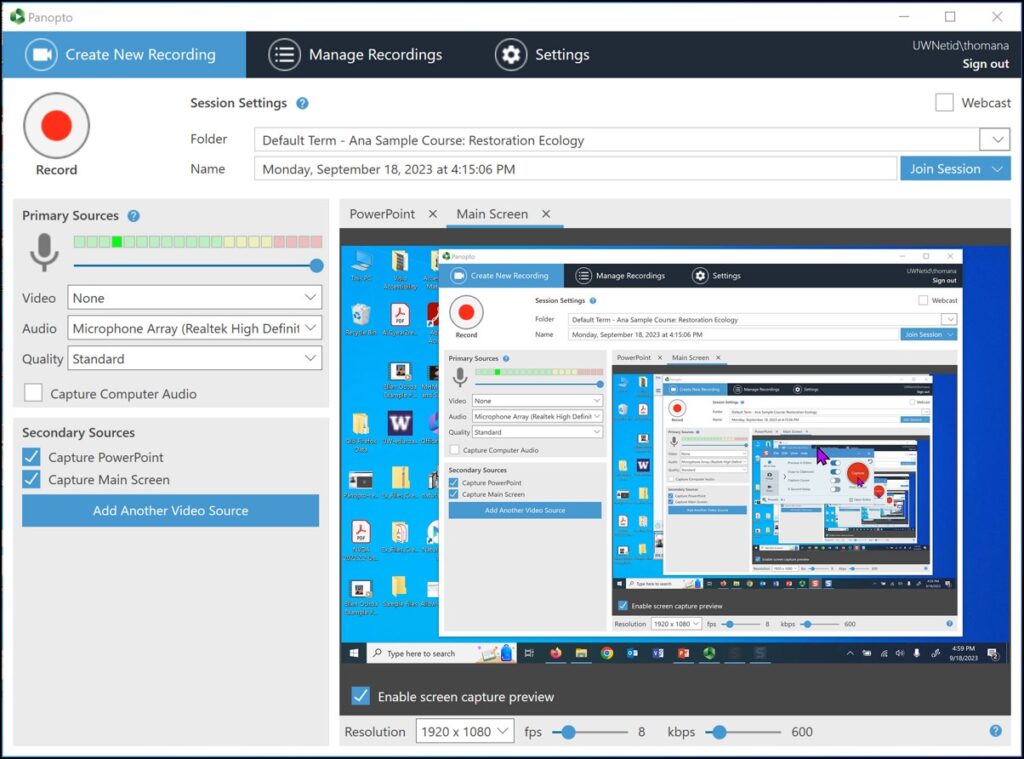
Next, the local Panopto application will open.

If the Introductory Tour Step 1 opens, select Skip Tour.
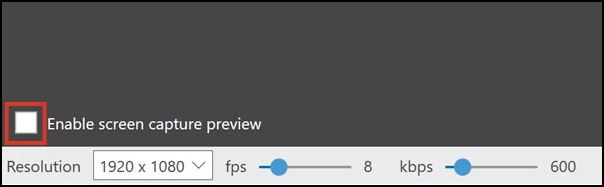
Enable screen capture preview by checking the box located within the big capture area on the lower right of the page.
Step #8 – Recording name
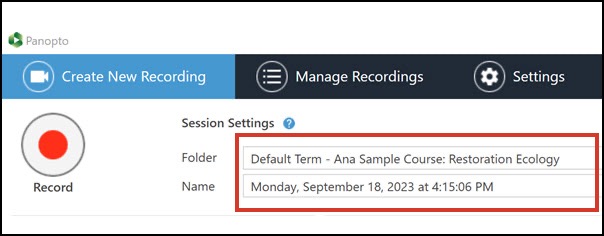
Give your Panopto recording a new name or use the default name.
Step #9 – Start, pause or stop recording
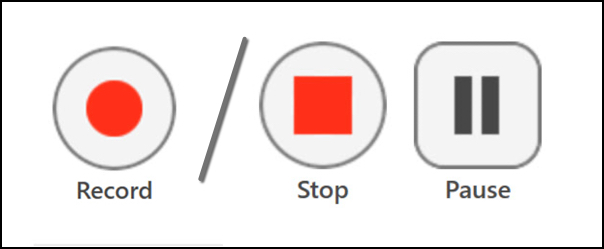
When ready, select the Record button. Select Stop when you are done recording or Pause to temporarily pause the recording.
If you pause your recording, you will see Stop and Resume buttons. Select Resume to continue recording.
Step #10 – Log out of podium computer
One finished, close all programs and log out of the podium computer. Your recording will automatically upload in the background.